Hisson Plastic Machinery Co., Ltd.
Sales Office:
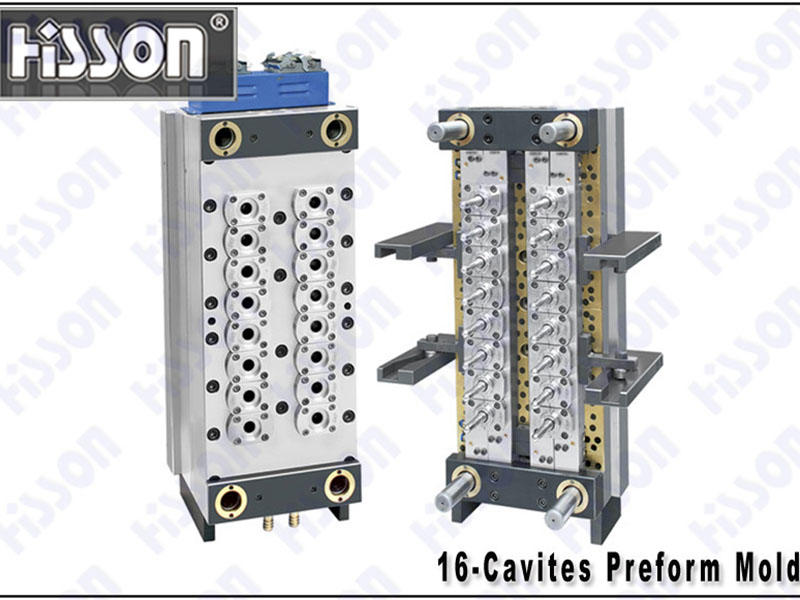
injection molding machine manufacturers | Hisson Plastic Machinery Co., Ltd.

If the startup process of the injection molding machine is not standardized, it will cause poor mass production, short machine life, and quality degradation. The following are the correct steps to turn on the injection molding machine to teach you to standardize the process.
1. Open the cooling water valve before the machine is heated and start production, and observe whether the water channel is unblocked.
2. Close the power switch on the side of the control box, turn on the power supply in the machine, and press the motor start button on the panel to start the oil pump motor.
3. For the machine that is used for the first time and has not been used for a long time, after the oil pump is started, it must be run for a few minutes before starting to operate.
4. Turn on the barrel heating switch, turn on the electric heating power, adjust the thermostatic nozzle and temperature controller on the door of the box, set the temperature, observe the current of the ammeter, and judge the quality of the heating coil.
5. The test run should be carried out from manual to semi-automatic to fully automatic. At the same time, check whether the important fastening bolts are loose, and stop immediately if any abnormality is found. After confirming that it is normal or troubleshooting, then carry out the test run.
6. The barrel should be cleaned when the processing is stopped or when the material is changed. The cleaning should be carried out while the barrel is heated. When the cleaning is completed, the heating switch should be turned off immediately. The cleaning is particularly important for processing easily decomposable plastics.
7. When processing is stopped, first turn the action switch to the manual position, place other action switches in the off position OO, turn the barrel heating switch to OFF, press the motor stop button to turn off the oil pump motor, and finally turn off the power switch to end jobs.
Have you learned the correct steps to turn on the injection molding machine? Then let's look at how to install the mold in the vertical injection molding machine.
The molding mold of the vertical injection molding machine has high precision. Improper installation will cause serious damage to the machine. Therefore, you must fully understand the technical requirements before installing the mold. How to install the mold for the vertical injection molding machine? The technicians of Haisen Machinery will tell you:
First. Installation method of vertical injection molding machine without mold positioning ring
1. Press the [OPEN MOULD] key first to turn the machine to the highest position, and then press the [SEAT REVERSE] key to make the seat enter the cylinder and retreat to the end.
2. Place the pet preform mold on the lower mold plate, use the [Adjust mold] button and press the [Mold mold] button to release the upper mold plate at a certain position (about 15mm) away from the mold and stop the mold clamping action.
3. Press the [Seat in] button, let go when the spout is about to touch the sprue opening of the mold, and then visually check whether the spout is facing the sprue opening from the front, back, left, and right, adjust the mold position to make the two completely coincide, press [Seat Back] Keep the spout away from the gate, and then put a piece of thin paper or a little ink in the sprue gate, press [Seat] to make the spout contact the mold gate, and finally take out the paper to observe its traces or observe the traces of the ink to confirm. If not, readjust.
4. Press the [Seat Back] button to move the seat back to the end. Then press the [Clamp] key to make the upper template close to the injection mold, turn off the motor, and fix the mold with a pressure plate or screws.
5. Set the pressure, speed, position and time of mold opening and closing.
Second. Installation method of vertical injection molding machine with mold positioning ring
1. Press the [OPEN MOULD] key first to turn the machine to the highest position, and then press the [SEAT REVERSE] key to make the seat enter the cylinder and retreat to the end.
2. Place the mold on the lower mold plate, use the [Adjust mold] button, and press the [Mold mold] button to stop the upper mold plate at a certain position (about 15mm) away from the mold, and readjust the centering hole of the mold positioning ring and the upper mold plate. Position, and then press the [Clamp] key until the upper template and the mold are in close contact.
3. Turn off the motor, then fix the mold with a pressure plate or directly fix it with screws, and the mold installation is complete.
4. Set the pressure, speed, position and time of mold opening and closing.
The length and width of the mold are determined according to the template size of the selected model. The height of the mold should be greater than the minimum mold thickness of the selected model and less than the maximum allowable mold thickness.
Copyright © 2019 Hisson Plastic Machinery Co., Ltd. | All Rights Reserved
Hello, please leave your name and email here before chat online so that we won't miss your message and contact you smoothly.